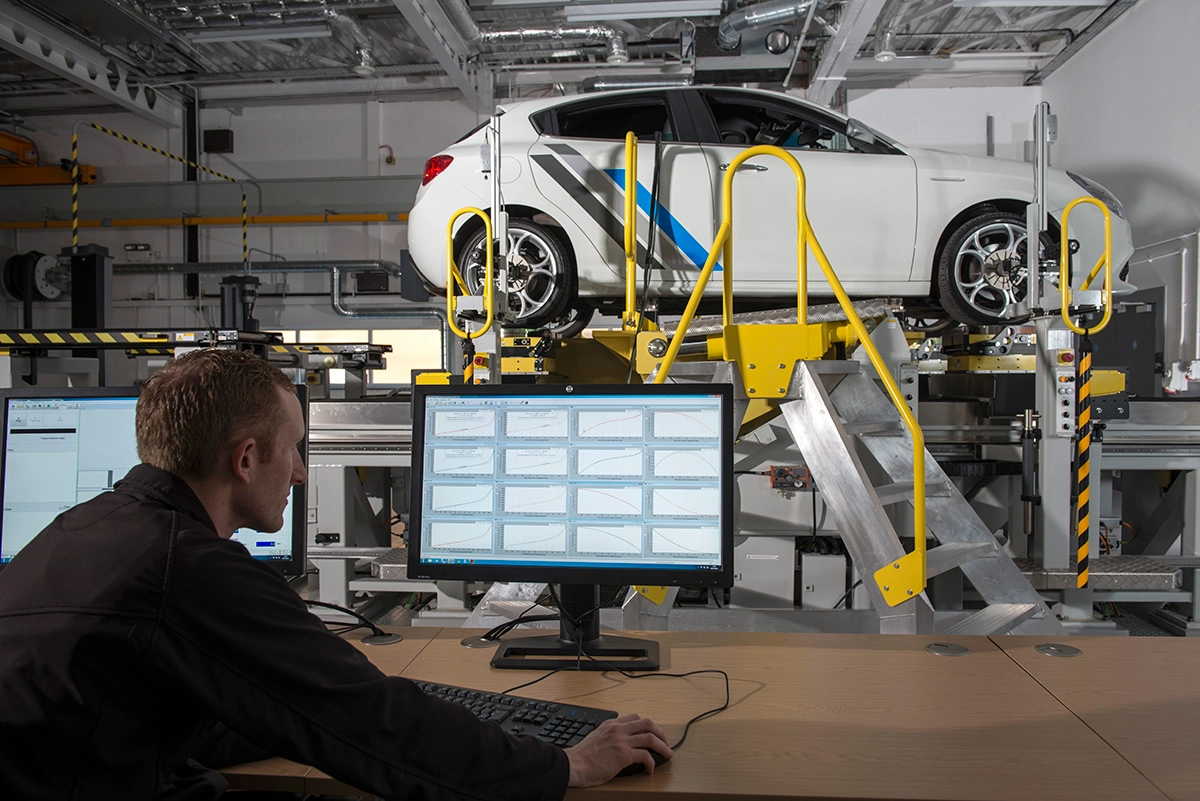
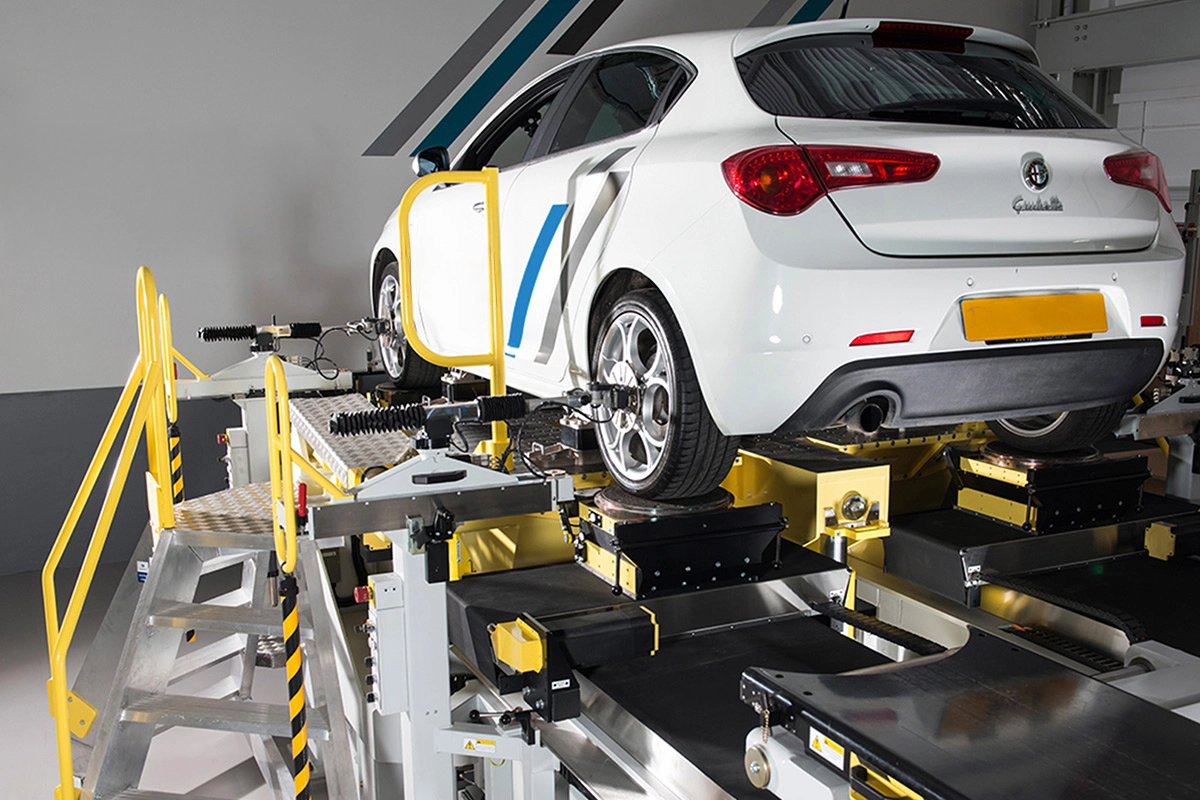
Kinematics and Compliance Facility
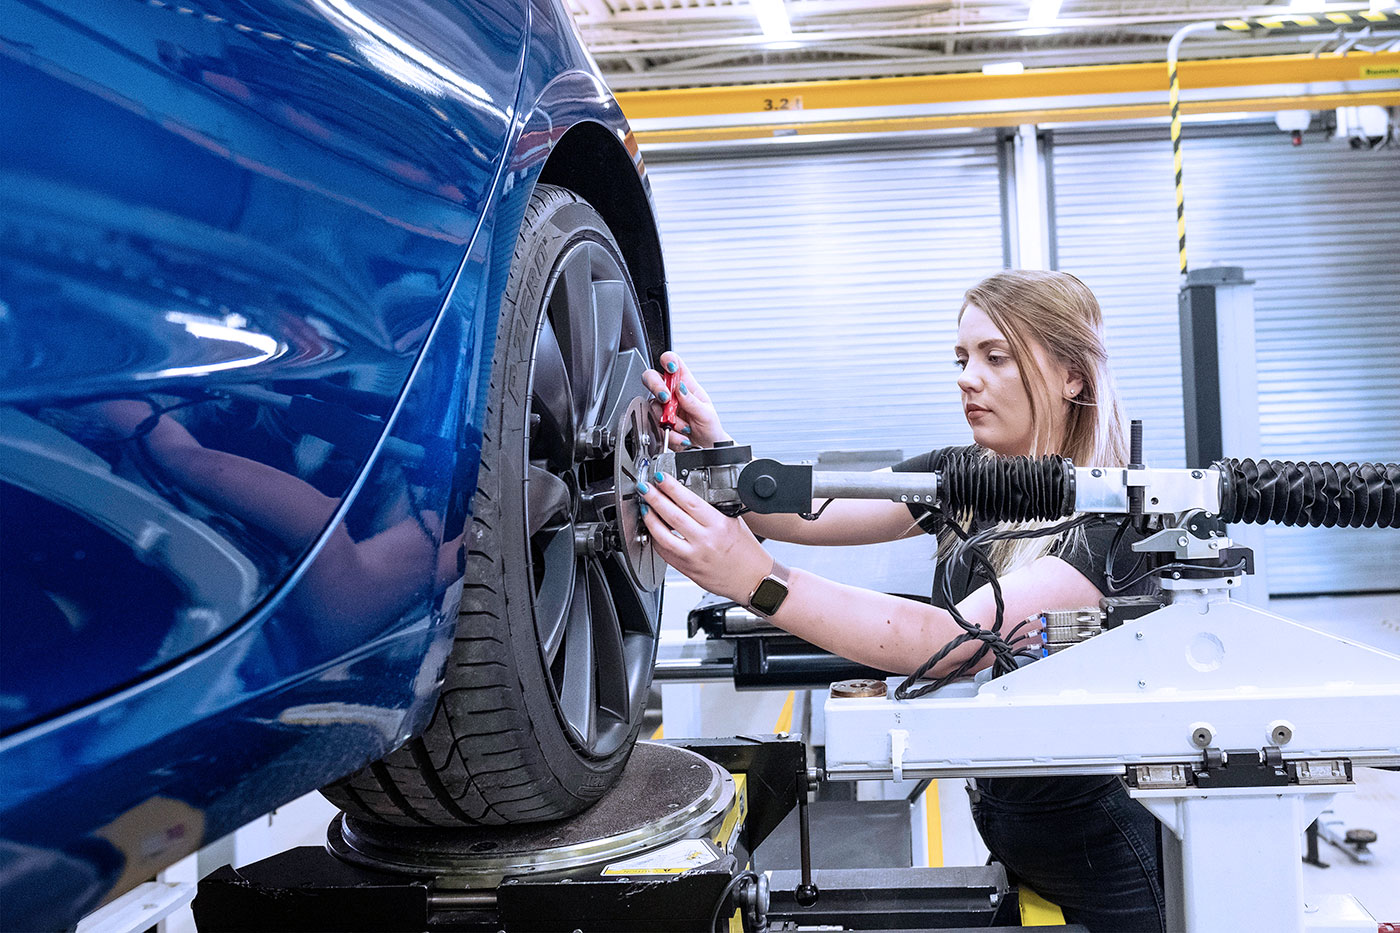
Our Kinematics and Compliance (K&C) Facility features the only twin axle SPMM (Suspension Parameter Measuring Machine) in the UK with moment of inertia capability.

Kinematics and Compliance Facility
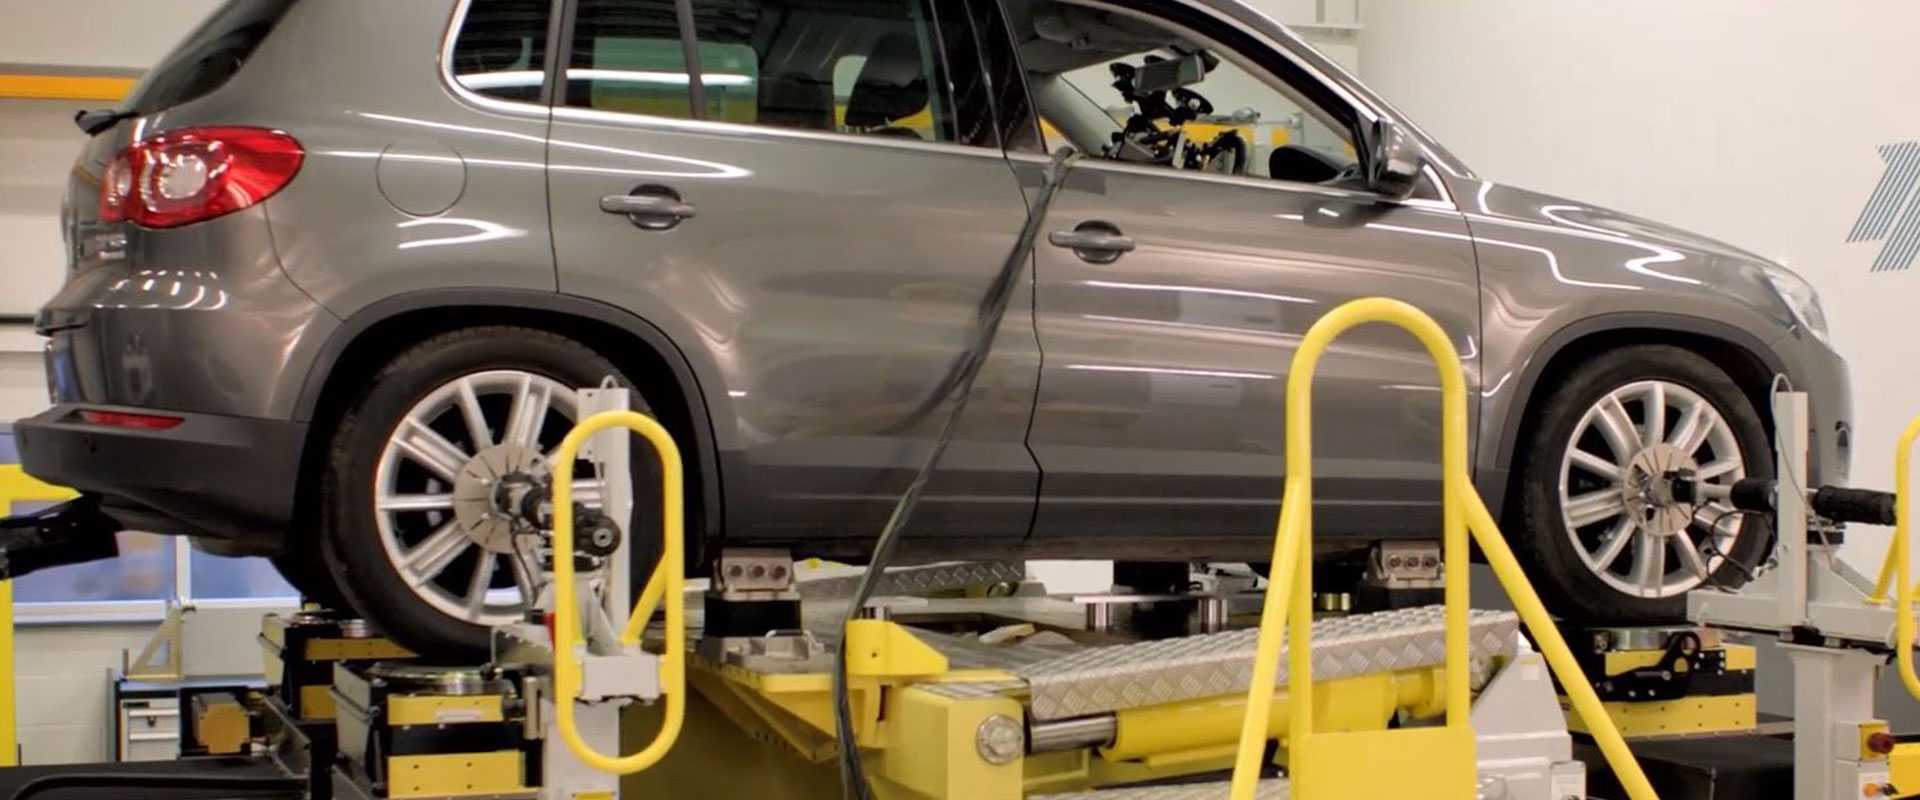
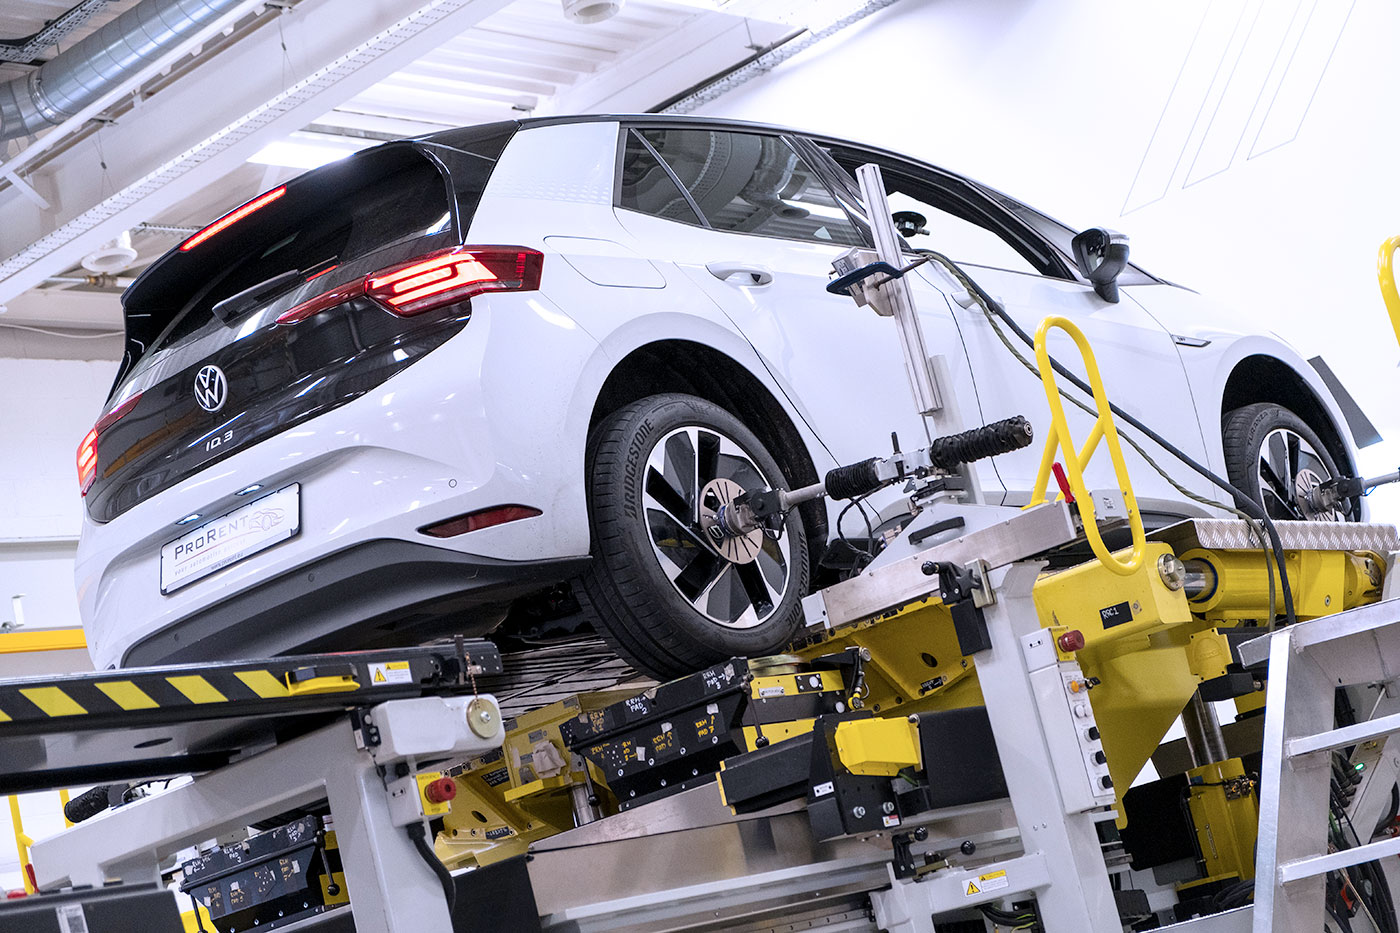
The facility provides an essential service to all areas of the automotive industry, whether it’s for benchmarking competitor products, developing prototypes, validating new designs or supporting CAE activities.
Suspension and steering system characteristics are measured after applying individual or combined motions or forces to the vehicle. The vehicle body can be fixed or displaced in heave, roll or pitch whilst cornering, braking or traction forces are applied as required.
The steering system can also be independently controlled. Over 150 individual channels are recorded to provide a multitude of vehicle properties including wheel rates, steer and camber change and lateral and longitudinal suspension swing arm vectors.
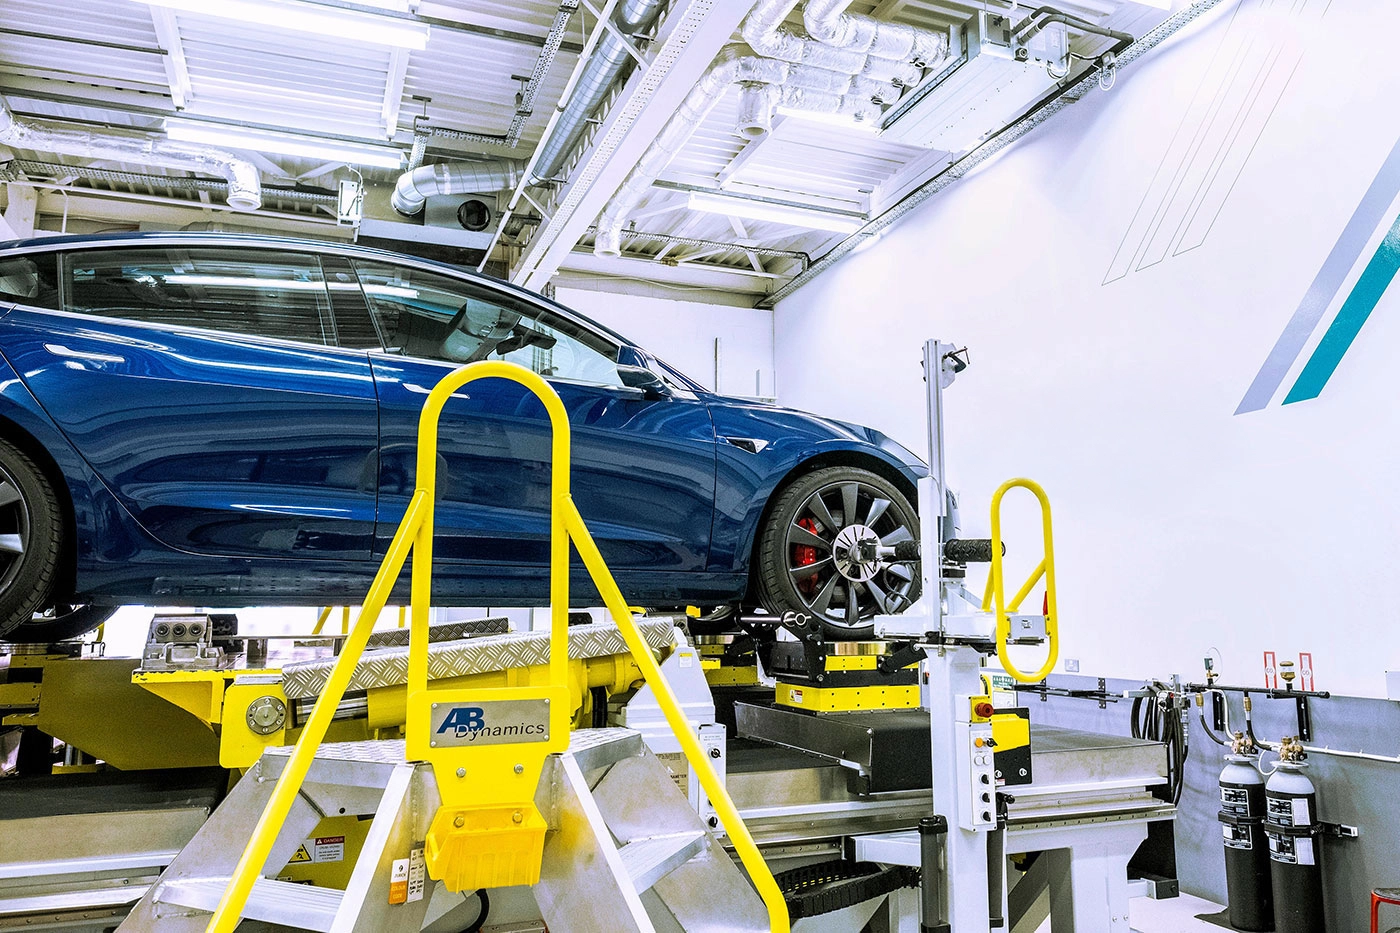
The facility is used regularly by the majority of F1 teams with touring cars, DTM and rally cars also taking advantage of its benefits.
Over the years, we have amassed a wealth of experience on the best ways of attaching different chassis and suspension systems to the rig. That same experience can also guide you on the most appropriate techniques for capturing the measurements you require and help to determine the cause of any specific problems displayed by the vehicle.
The rig provides easy access to the vehicle at all times, allowing for quick component changes, and tests can be repeated in minutes. Vehicles can be tested at different weight configurations and ride heights using the rig itself to implement the change. All tests are individually customised with results provided in live data feeds.
Individual axles can be tested independently and rigs fabricated to exclude the chassis completely. Additional sensors can be utilised to monitor properties such as vehicle body deflection or individual component displacements. Typical vehicle characterisation takes two days and produces over 400 graphs of individual suspension characteristics. The rig is housed in its own private workshop, allowing sensitive vehicles to be tested anonymously.
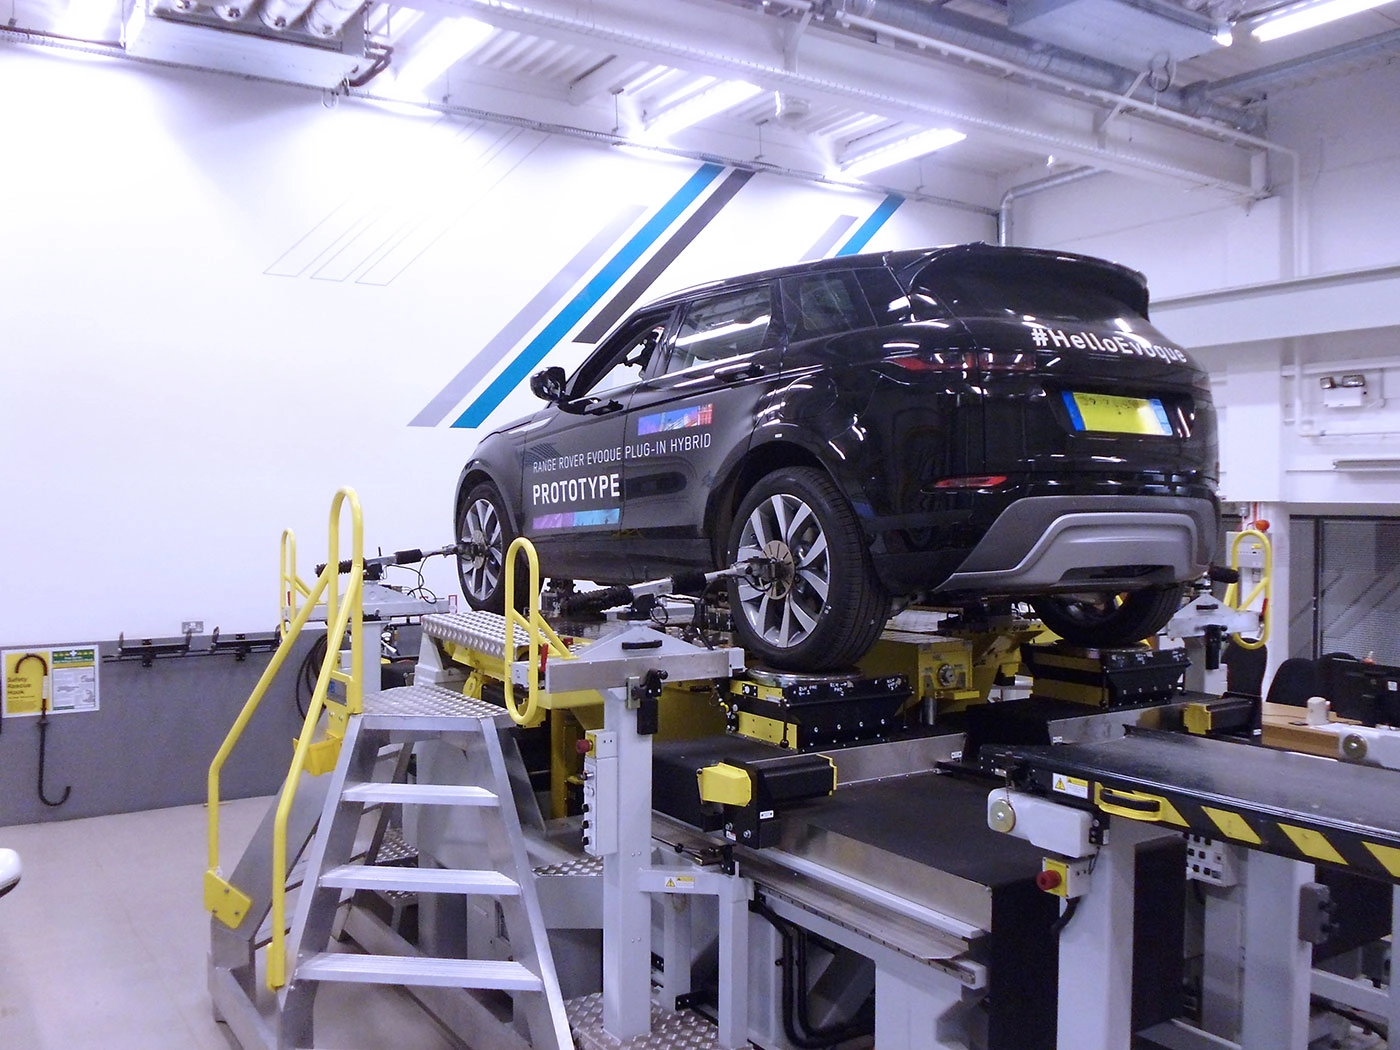
Kinematics & Compliance Inspect – Powered by AICON from AB Dynamics
Kinematics & Compliance testing also offers a unique opportunity to measure component displacements and deformations as loads are applied to suspension and steering systems. The reactions to these loads are complex and three dimensional, making it difficult to use traditional instrumentation.
It is becoming ever more desirable to characterise these reactions to enhance the correlation of simulation models. Kinematics & Compliance Inspect offers a new versatile solution to measuring these properties and is capable of measuring relative movement of point locations down to the width of a human hair.
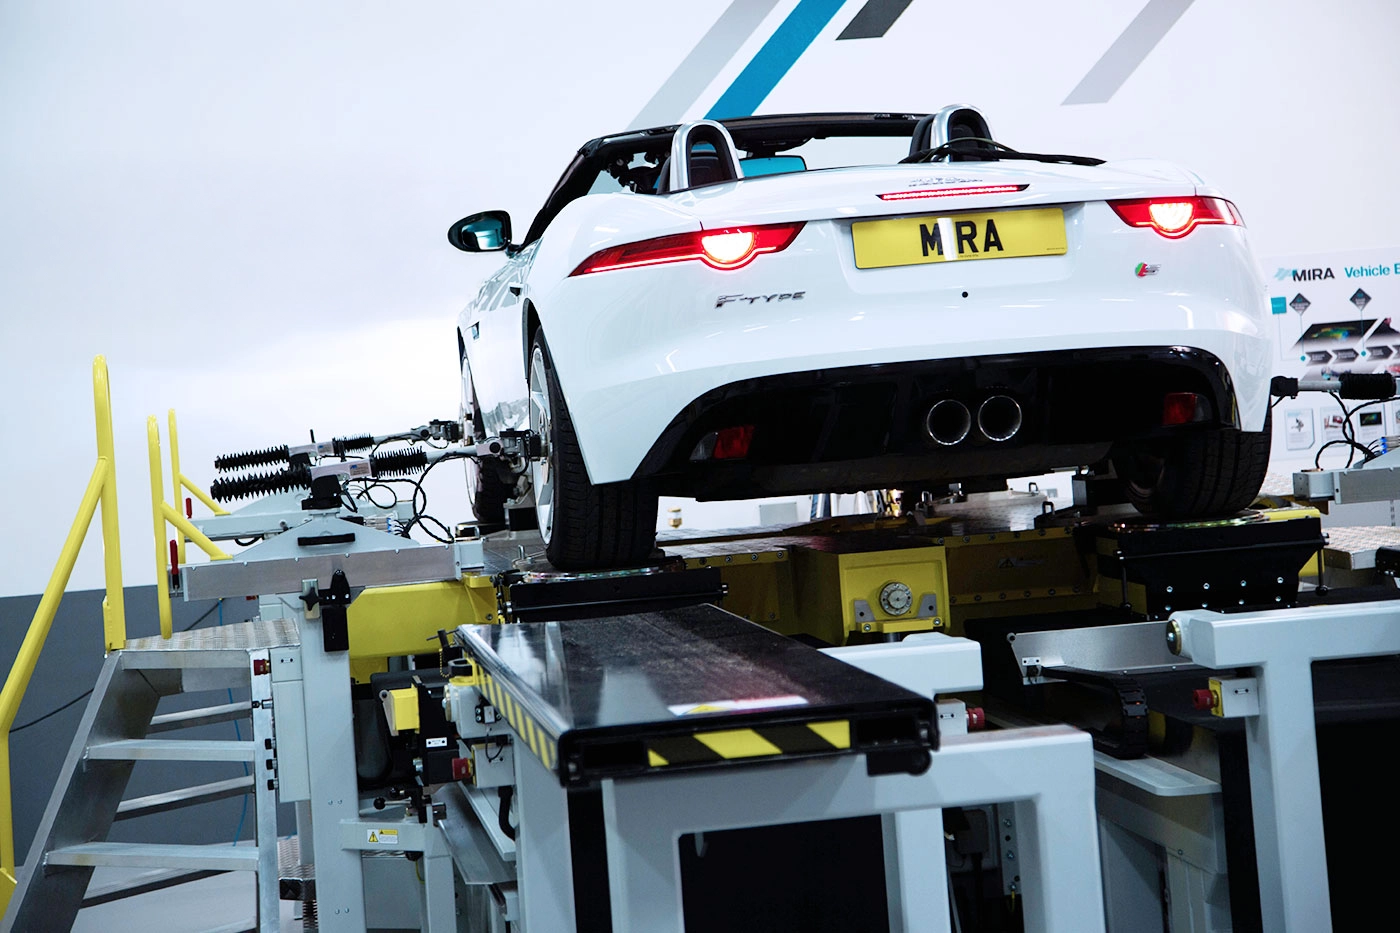
System Overview
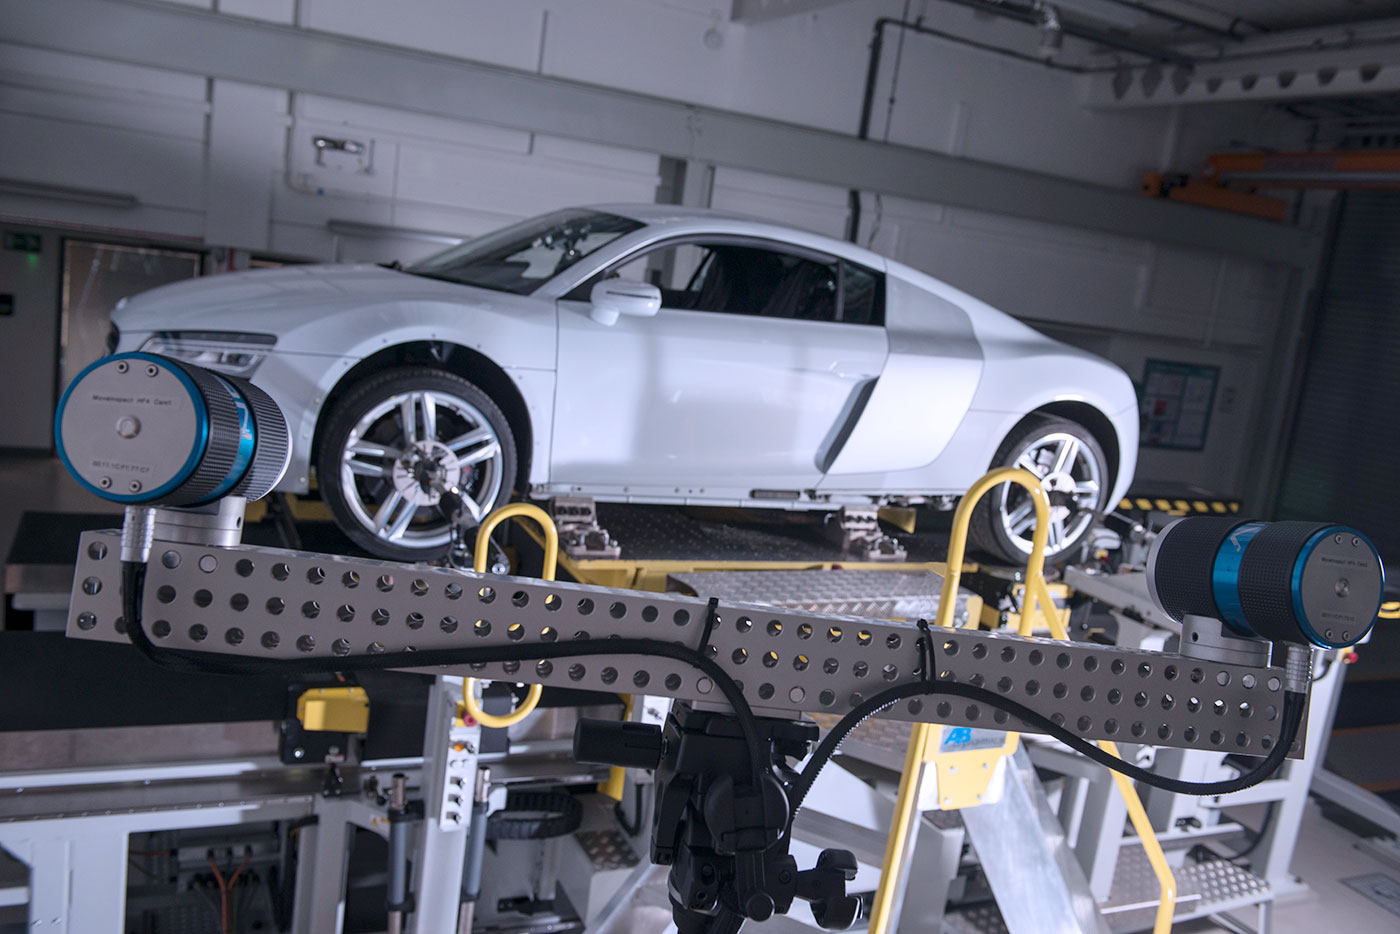
- K&C Inspect utilises AICON’s photometric twin cameras to offer a fully integrated point location measurement system for use whilst Kinematics & Compliance testing
- Small reflective targets are located in three dimensions with pinpoint accuracy and tracked at high frequency throughout a Kinematics & Compliance test
- Larger, planer targets can also be applied, whereby all six degrees of freedom are measured and the centre of rotation established
- Typical applications are:
- Steering rack
- Steering and suspension arm displacement
- Roadwheel, body, subframe, stressed engine and gearbox deformation
Measurement
- Two AICON Move Inspect HF cameras are used to measure target locations 1 – 4 metres away
- Relative movement of point locations are accurate to 0.1 mm
- Capable of measuring up to 1000 Hz
- 50 points can be measured simultaneously and output directly alongside Kinematics & Compliance data, within the
standard SPMM results file 12 mm point or 40 mm planer targets can be used


